Sunday, March 28, 2010

Amateur Sketch: Paint Scheme


1000 words.

Scattered showers, but Second Keel Coat, Window Removal, Sail cleaning


The boat is definitely vulnerable without its windows. Thinking of putting some tint on the plexiglass before I reinstall the windows. The tint may cover up the foggy-ness of the plexiglass and add a hint of gangster. Wow.


Grandad came to the rescue with some crucial drill bits to remove a couple of stripped screws to remove the windows.


Keel primer coat number two. Once again the floor jack comes in handy.


Washing the sails with a little tide and slight pressure. It looks like the grass was made to have a sail on it.

Saturday, March 27, 2010

The rudder on the boat.


Rudder $500
Boat $200
Seeing that beautiful teak in the sun Priceless.

Fiberglass Sanding and Priming, Hull Pressure Washing, Final Keel Grind and First Coat of Rust Inhibiting Primer!+


Steve was able to powerwash the hull. First he soaked the bottom with a mixture of bleach and water, then blasted it off. You can see the moss crap that was on there before. I'm glad that stuff is off now.


Vacuuming the keel was a picture I had to have.


The Wire Brush attachment was key to getting in the deepest pits.


After clearing the keel of all stray rust dust, I hit it with the first coat of rust inhibiting primer. Made by Rustoleum, a version of this stuff is used in shipyards everywhere. It went on very well and filed in any small pits that were still in the keel after hours of grinding.


Great Day. 61 and sunny. Got a little tan. Stil Livin the dream.

Wednesday, March 24, 2010

Fiberglassing


Epic day on the boat.

Overall, very pleased with the outcome of my first fiberglassing experience.

Starting with the weather. 75 and sunny.


Great lesson in fiber-glassing. Since the resin and hardener chemically react and actually get warm when they mix, keeping the mixed resin in the sun speeds up the hardening time like crazy. "Pot Time" was supposed to be about 15 minutes, but was actually about 4 in the sun and 7 in the shade.

Monday, March 22, 2010

Int. Primer - Second Coat and Keel grind # 4


As you can see the hatches look great.


Once again did some keel grinding. The 'entry level' angle grinder has not burnt out yet. Surprising and pleasing. I bought the most gnarly grinding pad I could get this time and it chewed through the rust like candy.

Completed the second coat of interior Primer. The interior basically us a uniform white. No Flakes, No Mold, No unidentified Brown stuff, No more Bee's nests, No nonsense. The Interior is on it's way to perfection.
-Regret... Still have to do some minimal fiberglass work in the interior and will have to smooth out a few spots with primer.
-Why? I thought the Fiber Glass resin sets up better in warmer temperatures-On second look, I'm not sure it matters too much.(I mean we are not at the equator or in Northern Russia)


See where I reinforced the stow compartment rails where the hatch will lay in. Solid performance.

Tuesday, March 16, 2010

Learned 2 things today...


1- I am not cloister-phobic. At all.
Finished priming the first coat of interior primer. It was a tight squeeze.


2- Newer Spar Varnish dries smoother than Spar Varnish thats a few years old.
The 6th coat of Spar Varnish was done with a brand new can and actually dried almost as smooth as glass. Tomorrow's 2 coats may be the last before I assemble the tiller!

Tomorrow- More Keel grinding. The keel is so heavy we use a floor jack to move it.
2 More layers of Varnish to protect from UV Rays and Water
Interior Priming Coat

Today is the first day I have not gone to Lowes in a WEEK. Wallet thanks me.

Jay

Monday, March 15, 2010

What's a boat with no flag?


Yes, the boat still looks like it has been underwater for the past five years, but I decided to make a flag for it.

Step 1. Bought a 1" dowel from Lowes
Step 2. Put 5 Coast of Spar varnish on it over the past week or so.
Step 3. Purchased a water, UV resistant 12" x 18" flag from ebay (Way cheaper than West Marine) About $30 cheaper.

Step 4. Attached Stainless Steel eyebolts.

Sunday, March 14, 2010

Plywood Fix and Interior Priming


I am going for a Guinness World Record. Most time spent on a boat not in water. All day priming the interior was intense to say the least. See the tiny spaces where I was tucked in.


The inside looks like a new world though and with a little more primer, should be ready for a champion poly coat.

My parents were a huge help all day and were great runners for supplies and refilling paint trays while I was deep inside the darkest spaces of the boat.

Looked like a refugee after the day was over.


Got to grind the keel a little bit too. Rust was coming off in clouds.

Progress-o-meter Emense
Fun-o-meter semi

Saturday, March 13, 2010

Huge Day under the Boat


Stand building with grandad. Goal...Building a stand that the trailer could roll out under. Success.
The boat does not move one bit even when aboard working on it.


Keel Grind


Plywood mounts set in.


Grammey sent some fuel over for the boat building process. Delicious!

Wednesday, March 10, 2010

Despite the Rainy day...

Hatch Power Washing/Stripping
Power Washer worked like a charm!


Filling slight depressions in interior plywood pieces before priming. I used some Spackle that goes on purple and dries white when it's hard enough to sand and paint. The product said it is good for interior or exterior and I should have used something a bit more legit but hey, it's gonna work just fine.


Cleaning the lifeline and rail system with chrome polish. That baby is shiny now! Sunglasses needed.


Cleaning the keel winch and replacing the cable. I greased that sucker up a little bit and got some of the rust off. (I saw a new winch at Northern Tool of about 25 bucks and got inspired to clean mine up a bit. Glad I did)

Grandad, Thanks for securing mass quantities of wood for this killer stand we will be building this weekend! Maybe "killer" was a bad choice of words. Ha!
Grammey, solid muffins.

Sunday, March 7, 2010

Another Huge Day on the boat


Prepping the interior for primer. Pressure washing the interior was quite interesting.
If I had access to a sand blaster, I would have tried my hand at it, but the neighborhood Power-washer worked just fine.


My accomplishments include
1 Removing all loose paint chips
2 Filling the boat with water and vacuuming it out 6 times
3 Getting soaking wet
4 Getting paint chips in my eyes (PIC)
5 Flooding the back yard


2 more coats of Spar Varnish were given to all the wood pieces and they are starting to look and feel suberb.


My grandparents came over to see the project boat and brought the best Chili. Grandad had some awesome suggestions about the water removal and Grammey snapped some great pics. Grandad has been appointed the new project lead for building a stand for the vessel to get it off the trailer.

Saturday, March 6, 2010

Hanging out to dry


Coat hangers make awesome hanging tools outside of the closet.

These are the pieces of the Tiller and the various other teak accents on deck just hanging out to dry after a good day a varnishing. Some more literally than others.

I got a sunburn today and it was only like 54 degrees! Pumped! Summer here we come!

Jay

Huge Saturday. Keel Removal, more varnishing, and a great friend.


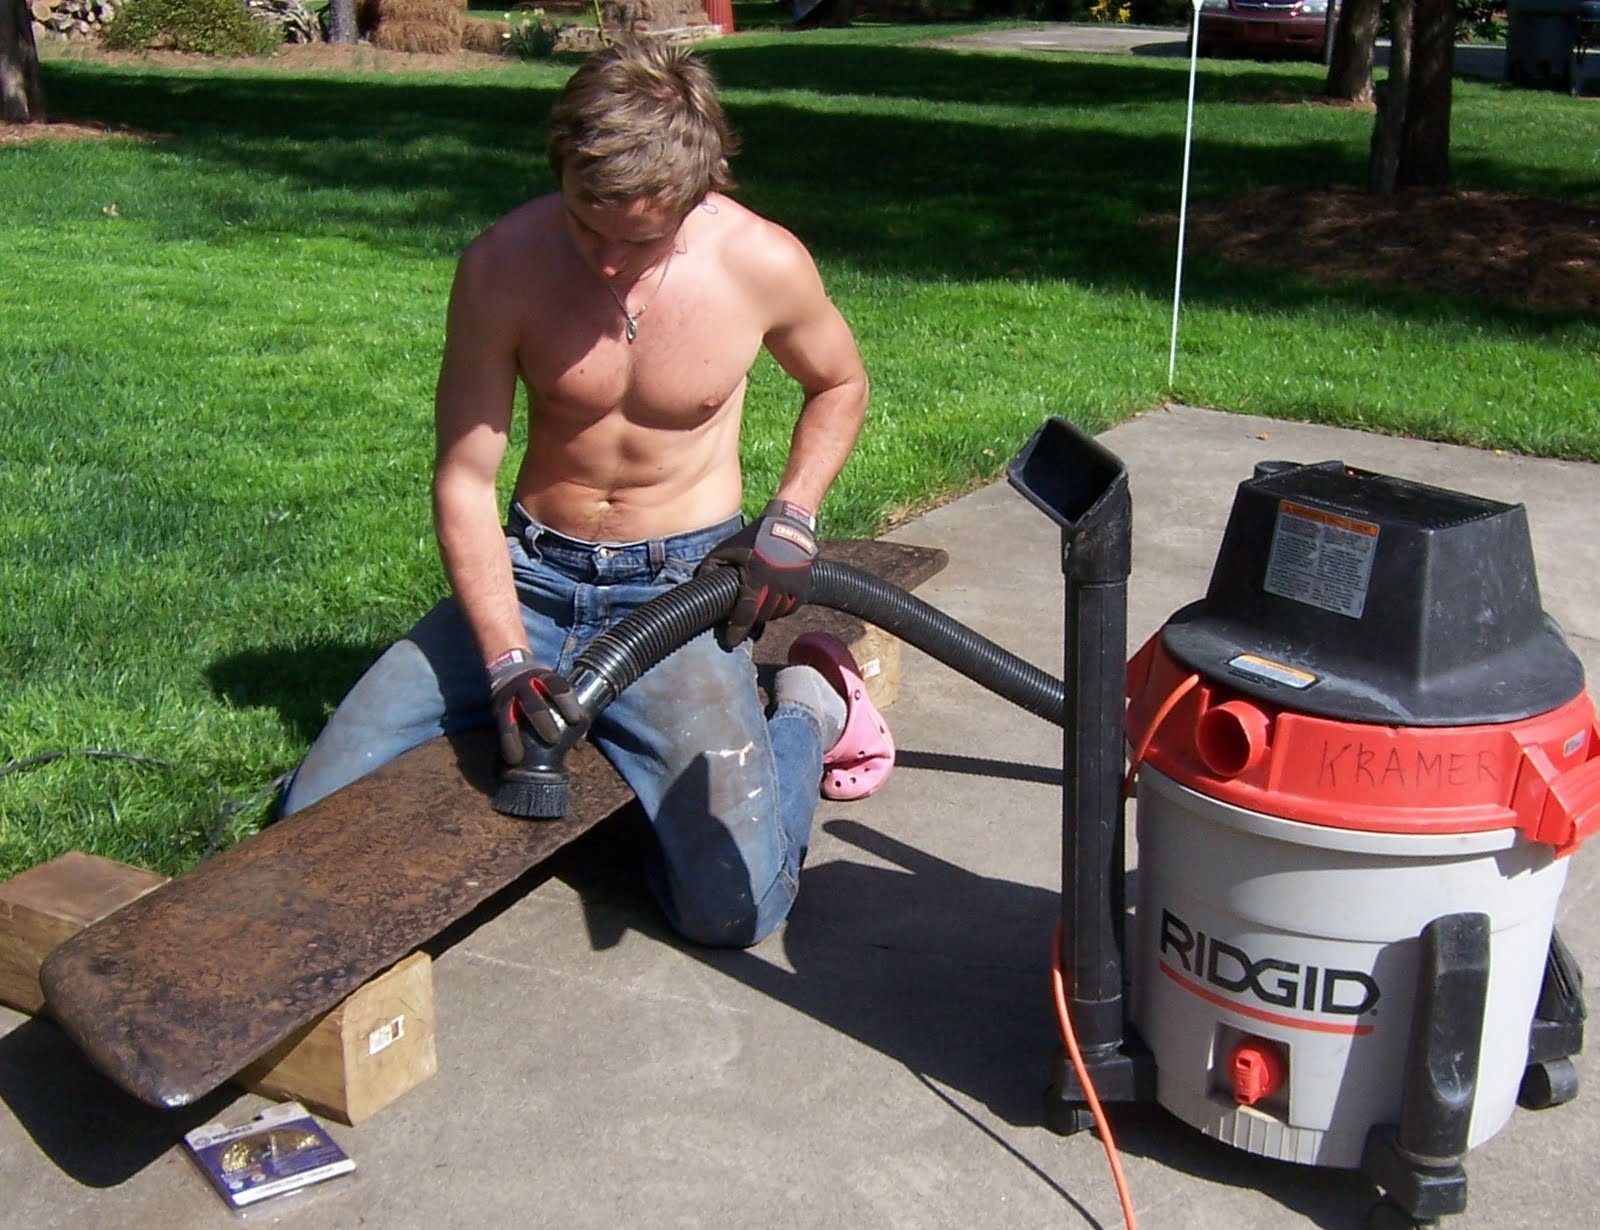
A huge day at the work site. Derek Kelly made a trip from "The Glacier" (Boone, NC) to help out with the project. He wanted to do something big so we removed the 400lb keel. Two thin white boys and a little brain power did the job.


After unbolting the keel winch we placed a jack under the front of the keel to eventually lower it down gently. We popped out the pivot bolt holding the keel in place and began to lower. Shortly after the keel tipped off the jack and landed on the board strategically placed to absorb some of the force on the axle. (good call Derek)

We heaved the nasty keel up on a wheel barrow and gave it a good scraping, followed by a power-washing. Overall, we probably removed close to 7 lbs of rust flakes!


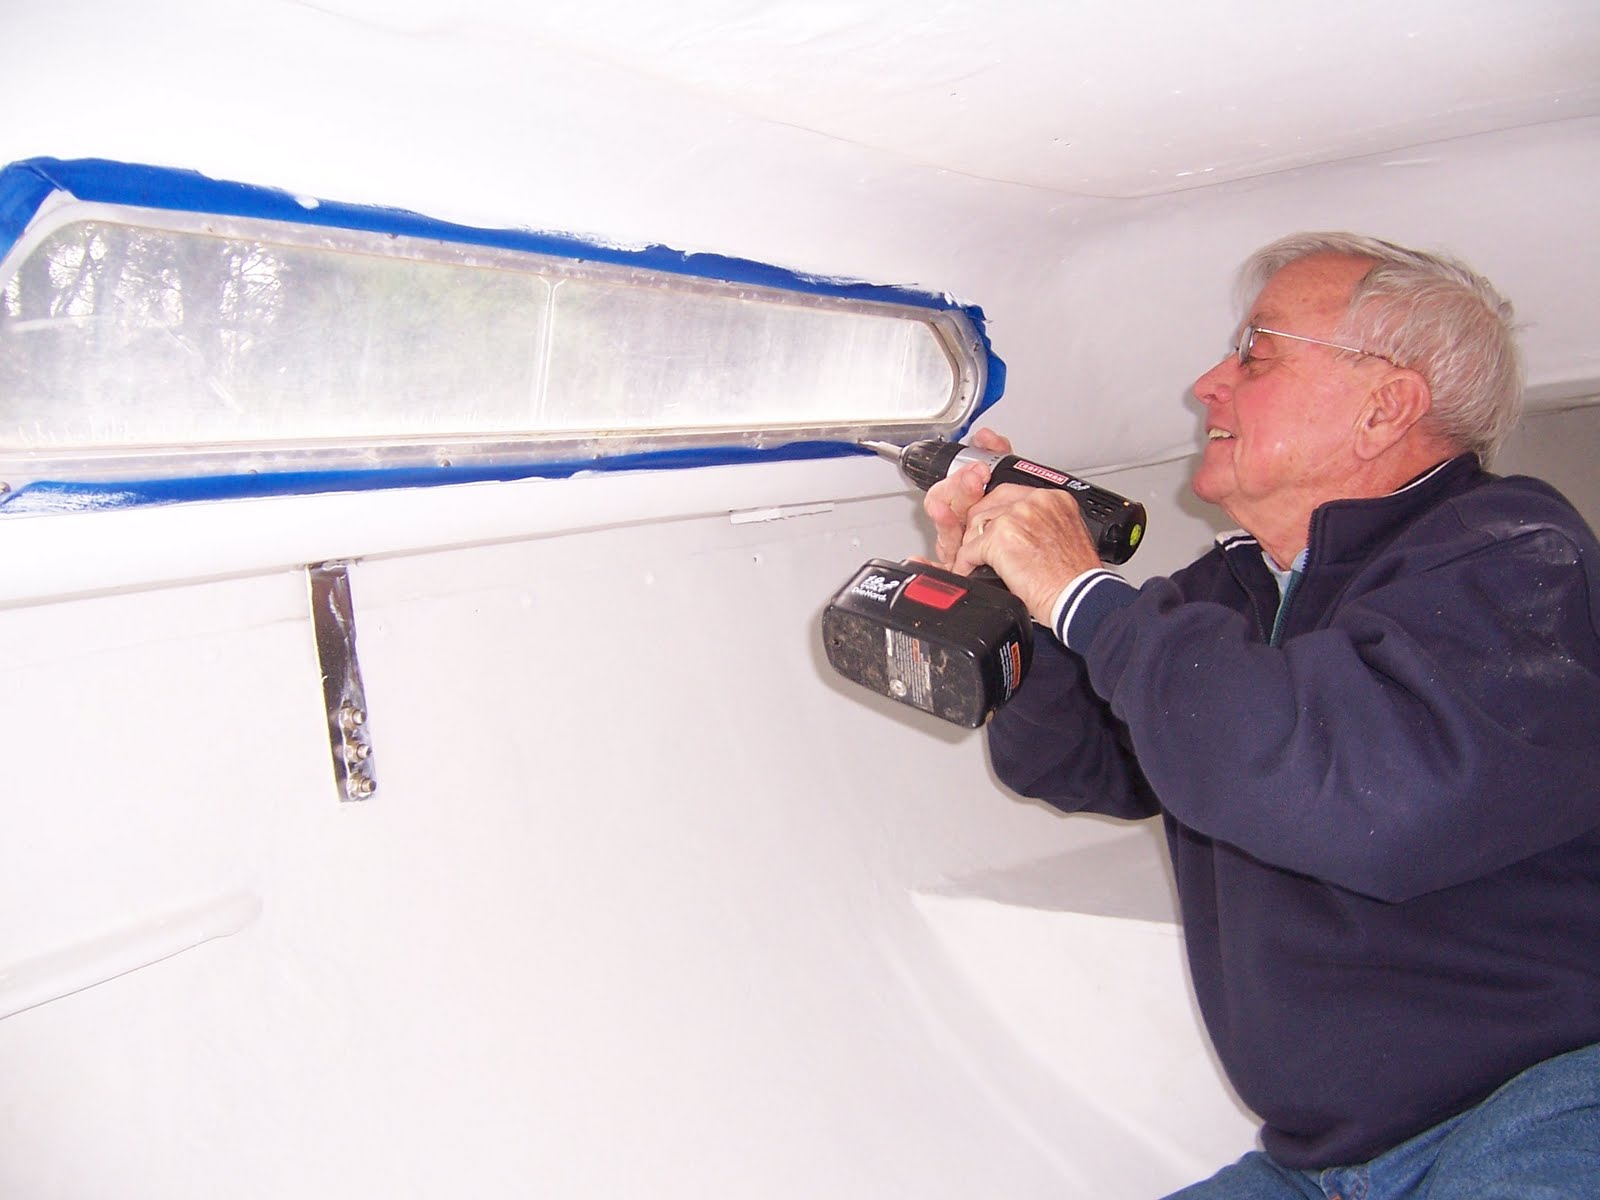
The varnishing continued with the Tiller. Coat # 3 after sanding with 220 grit.
A tiny bit of mineral spirits work well to remove the sandings between varnishings.

I peeled off the remaining teak wood and sanded like mad. The wood was then cleaned with the good old teak cleaner just for kicks. See the difference in the pic. Some glue was placed in a few potential trouble spots to firm them up. After drying the extra glue was sanded off or so we thought. These spots didn't absorb the varnish nearly as well as the surrounding wood but the wood is way stronger than before. Function over looks sometimes.


Progress-o-meter Maximum

Highlight of the day...Seeing that keel fall out, then picking it up with the help of D. Kelly.