Sunday, April 25, 2010

Saturday. Rail installation. Windows in. Hatch slider installation.


MADE IT ALL 8 SECONDS!


We got the new bow light put in too. Bold and zesty.


We saw rail was on its was and wanted to be able to close up the boat. This meant windows, and hatch.
After some coaxing and prying, the windows were back in with a phenomenal 4200 sealing job if I do say so myself.


Hands and feet required.


Re-installing the aftermarket lifeline and rail was a task. Each rail mount was backed with epoxied wood under the deck for added support. This took me crunched up in every crevasse of the boat to make this happen. Each rail piece was sealed with 3M 4200. That stuff is so tacky (sticky) it is unreal.

Friday. Sand Blister Repair. Waxed deck...mmm


After a layer of epoxy, a layer of epoxy with filler, and a light sanding, the final layer of epoxy was applied, then sanded when dry. The smoothness this gave the hull in unbelievable. There are no more blisters! WOW!


Waxing the deck improved the feel to that high gloss, easy clean, well protected smooth coating we all know and love! 3M makes some great marine wax. (Black Bottle)
After the allpication, hour wait to dry, and buffing, the boat looks and feels great.

Monday, April 19, 2010

Monday. Hull repair sanding!


Today when I got back from the law firm I got on the sanding of the repairs.


Absolutely beautiful.

Also I burnt out my 5th sander. Nice, thanks China.

Sunday. Hull blister repair.

A project that was hanging over my head and worrying me a little bit was the hull blister repair.


Step 1. Sand/Grind all blister caps off.
2. Wipe with clean cloth to remove dust.
3. Prime with coat of West 105 epoxy for a base
4. While the epoxy is still tacky apply more 105 with 407 low density filler. To get a sag-free consistency it takes quite a bit of the 407. The plastic applicators work great and conform to the hull. Apply liberally.
5 Let dry for at least 24 hrs before sanding
6 Apply another barrier coat of epoxy.

Saturday. Wood Whale. Blistering sanding. Yellow non-skid coat


After all the fus over cleaning them...Dad came through with a present. New glass!

Trailer Painting with rustoleum. Yes it's brown but will be painted black after. Mama helped a bunch with this.


I installed some rubber flooring to protect the floor of the boat.


My grandpa Bob once made a whale like this one. His came out way better, but I wanted to add something to the boat that would remind me of him.


Dad came through with the taping and rolling the yellow.

Friday.


Dropped off motor to get a little tune up.


Gave a coat of white topside paint to the boat.

Did final coat of the blue interior poly.

Finished interior table and leg.

Friday, April 16, 2010

Cushions and safety gear


Captain safety here. Nice.


For the rear benches I bought some thinner stuff to improve clearance. Good call bro.


The Snow's, down the road donated the thick foam for the bow of the boat and it works perfectly!


To save me the hassle of learning to use a sewing machine Willie is commin up from SC to sew the cushion covers for the boat.

I still have a little cutting to do before he gets here, but you can see the foam basically laid out.

Wednesday, April 14, 2010

Rub Rail, Deck non skid and the Question of the day...


Removing the rub rail for bolt tightening and cleaning. There were colonies of ants under the rail. Nasty little things.

When I painted the interior light blue, some of the paint actually squeezed out onto the hull where the rail was not tight. This prompted the immediate extraction of the rubber. Terri cleaned it up like a champion.


The Non-Slip additive "Refined Silica" is just fine grain sand?

I want to shake the guy's hand who thought of picking up sand, putting it in a can, and selling it as hardware stores across the world. That is a wise man.


So obviously I am working on the non-slip surfaces of the deck. After a failed try to sprinkle sand on the still wet paint on the deck trying to get it to stick, I will mix the sand in with the paint and roll it on. I will follow with two more coats of paint. [In the pics, the sand had not been added.]


Saturday, April 10, 2010

Wow Exterior paint. Interior paint. Removable table.


You will notice the tiny bits of sand that remain in the paint. This will be coated over multiple times.


The exterior deck paint went on very well and does have a high gloss that will be easy for cleanup, washing, and has great UV protection apparently. These pics are after the first coat of yellow and white and show great promise! The lines are sloppy because I was just trying o get it on there for a good base coat.
2-3 more coats to go!

SANDING SAND
To make the yellow area non-stick, Steve and I tried to sprinkle sand on the wet yellow paint. This absolutely didn't adhere well and the places it did, the sand grains were way to rough. I had to sand off the sand:( The next attempt we will mix the sand right in with the paint and roll it on.


The interior polyurethane went on like a charm and is quite a bit blue-er than expected. The tint purchased was hardly noticeable but when it dried it's good old Carolina blue. Looks great though. I managed to get two coats on over two days and will offer a third to a few 'high traffic' areas in the boat.

In the picture you can notice I am finding a placement for the removable table leg of the removable table I built. That table is going to be La-Gitimate1

Thursday, April 8, 2010

Freaking Cheetah print. Bow chicka wow wow!


I literally bought cheetah print, exterior, UV protected, stain proof, water resistant, mold resistant female attracting interior fabric for the cushions I am making.

Ginny strongly advised against it at first, then remembered how ridiculous her brother is.

This is going to be great.

Thanks for the word on the 50% off fabric M.

Another Keel Epoxy Coat, Interior shelf/table build, Hull sanding, Aluminum window mount cleaning, a little rain, pollen


You may be able to see the great, light light blue that I schemed for the interior polyurethane. We are in the Carolinas so it seemed appropriate and better than bland white or retro cream.


After another application of headlight restorer I began the reassembly of the windows. The seals, although shrunken about 2%, were in decent shape and popped right on.

After sanding the pitted hull, there was a layer of yellow on every car in the neighborhood. I thought I was a dead man until I realized it was just the rediculous amount of pollen/allergens flying around. Notice the layer on the tarp.


The ever amazing west system epoxy with slow hardener went on beautifully yet got covered with pollen. About 99% of it wiped off and thank goodness for that.


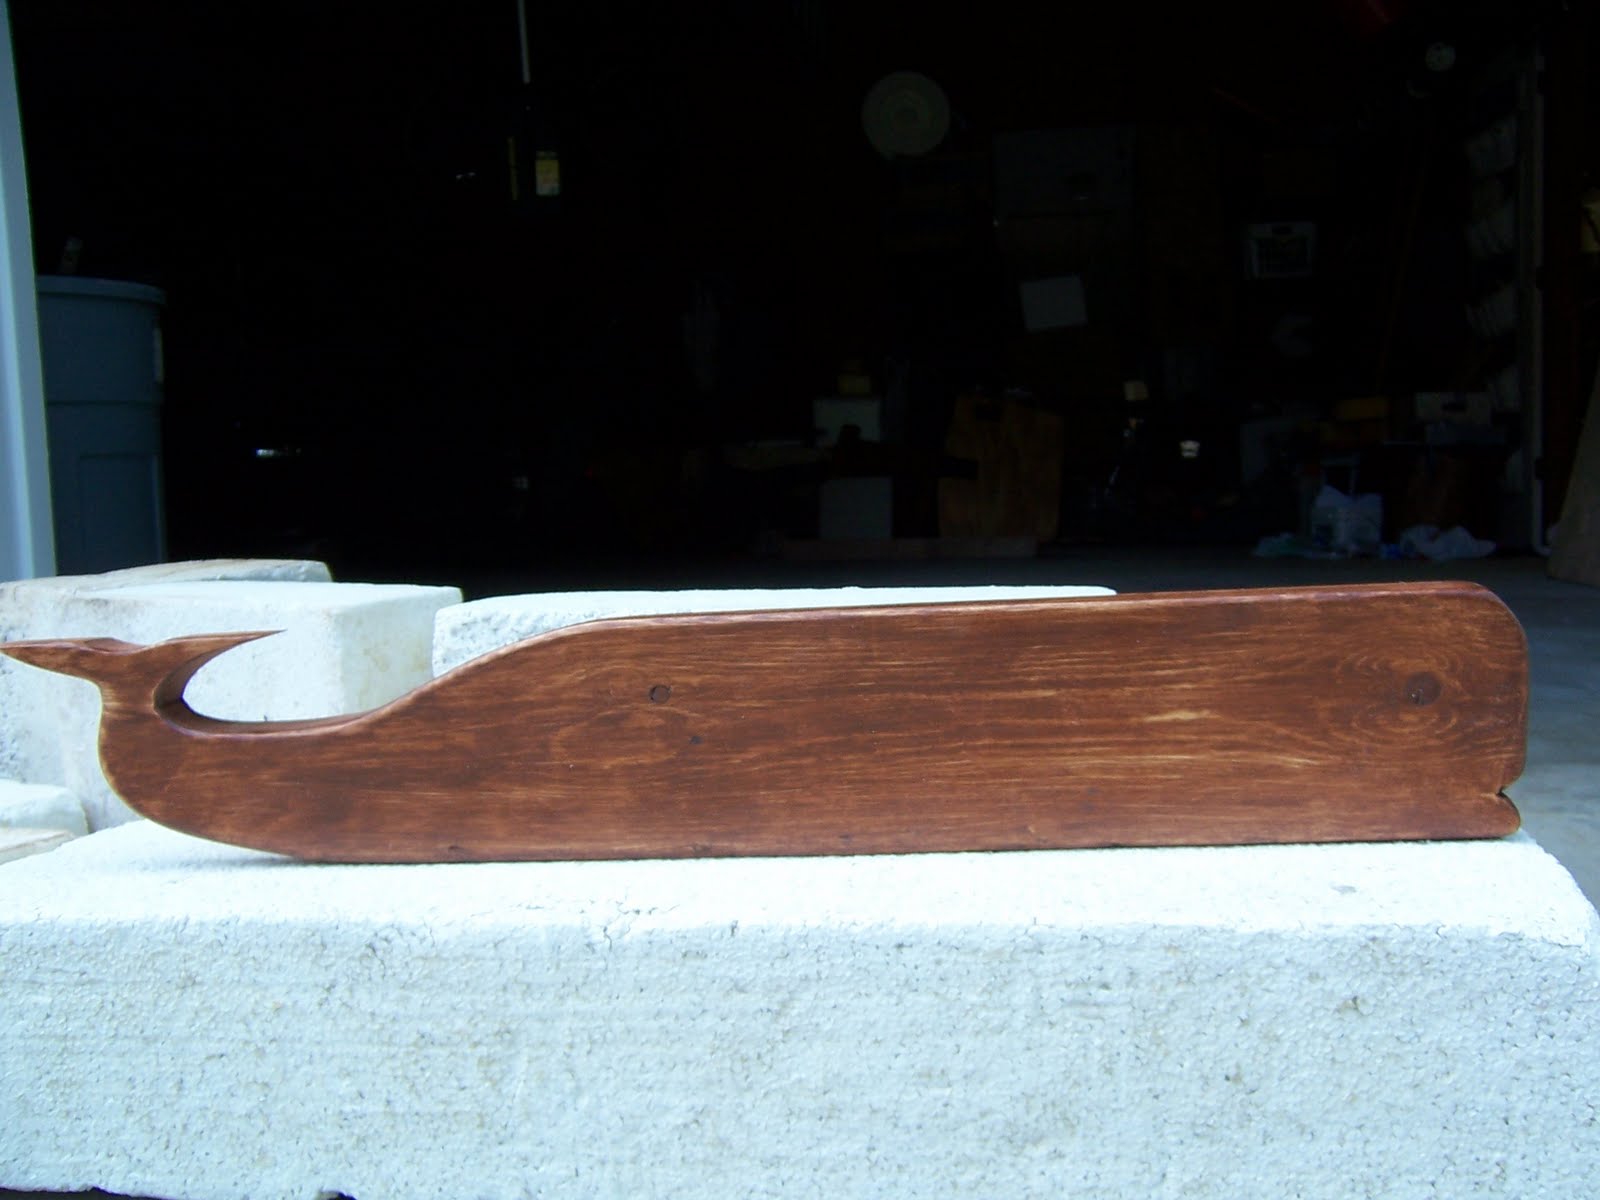
Working on the interior shelf/table mounting unit was a blast. The great reddish color is great with a few layers of spar varnish on top. I used wood glue and screws to hold it together. The table top I cut out of oak and have begun varnishing it's pants off. The oak table slides in to the shelf near the top. It should be pretty legit.


a onblur="try {parent.deselectBloggerImageGracefully();} catch(e) {}" href="https://blogger.googleusercontent.com/img/b/R29vZ2xl/AVvXsEhkxoMMfxwy5y4J6bQcmUsl8wqq3KTEC51cq43ICkDph2OWtMmuL09L-M0bujigOcGkPxf7bA6qdLT7iuyYEUtbPCursom4aB77f6UcyYyZAML_E_M9B4Dhl_I9PhyOtkJSDW0Lo5Pz6wO8/s1600/100_2640.JPG">

The aluminum cleaner I got worked like a charm after SECOND go around. The difference is exquisite.

Sunday, April 4, 2010

Friday, April 2, 2010

The Easter Bunny Came!

Steve came through with a promise that he'd "Finishing sanding the hull" and that is exactly what he did. The boat is yellow now. Great work. He was green and yellow after he finished. The neighbor's cars were too after he finished, but we figured it was part pollen.

I marked roughly where the water line was because after we sand it all off we will have no clue on were it is.

The keel was given another coat of West System epoxy. First it took a light sanding to smooth out a few imperfections (Flies

The design for a shelf/Stow away table was schemed and the pieces were cut out, stained and varnished.

The rest of the hardware was removed from the deck and boy I hope I can remember were all that went.


Wow. What a trooper. MAN-CARD SACRIFICED for the good of easter.landed on it while drying)

8:47 About to start a massive deck sanding day.


Mom sewed on some replacement sliders for the mainsail. Nice work.


What was accomplished...
Sanded the entire deck of the boat to prep it for priming and painting. This was no small task, and the #40 grit sandpaper ate through any stubborn gelcoat that was left after 37 years of living outside.

Gave a full coat (both sides) of West System's Expoxy to seal the keel and offer slight fairing. Although pricey, this stuff is Legit. I bought the pump system they recommend and they worked great. Couldn't imagine getting the ratio's of Resin and hardener correct without them. The keel dried with a coating as smooth as glass and almost as impermeable.
Wish me luck friends.


Finally, where a less-than-stellar fiberglass repair had taken place some years ago, I vowed to re-do it the right way. There was a sizable hole in the boat though as you can see by the picture. It is closed up now and after sanding, is quite beautiful and will be unnoticeable when painted.
For the record, doing fiberglass work on your back above your head takes patience and ninja-like agility and precision. Wear a breathing mask of your brain will melt. I can't afford any brain melting so I wore my big daddy respirator. Check out before and after.