Monday, April 18, 2011

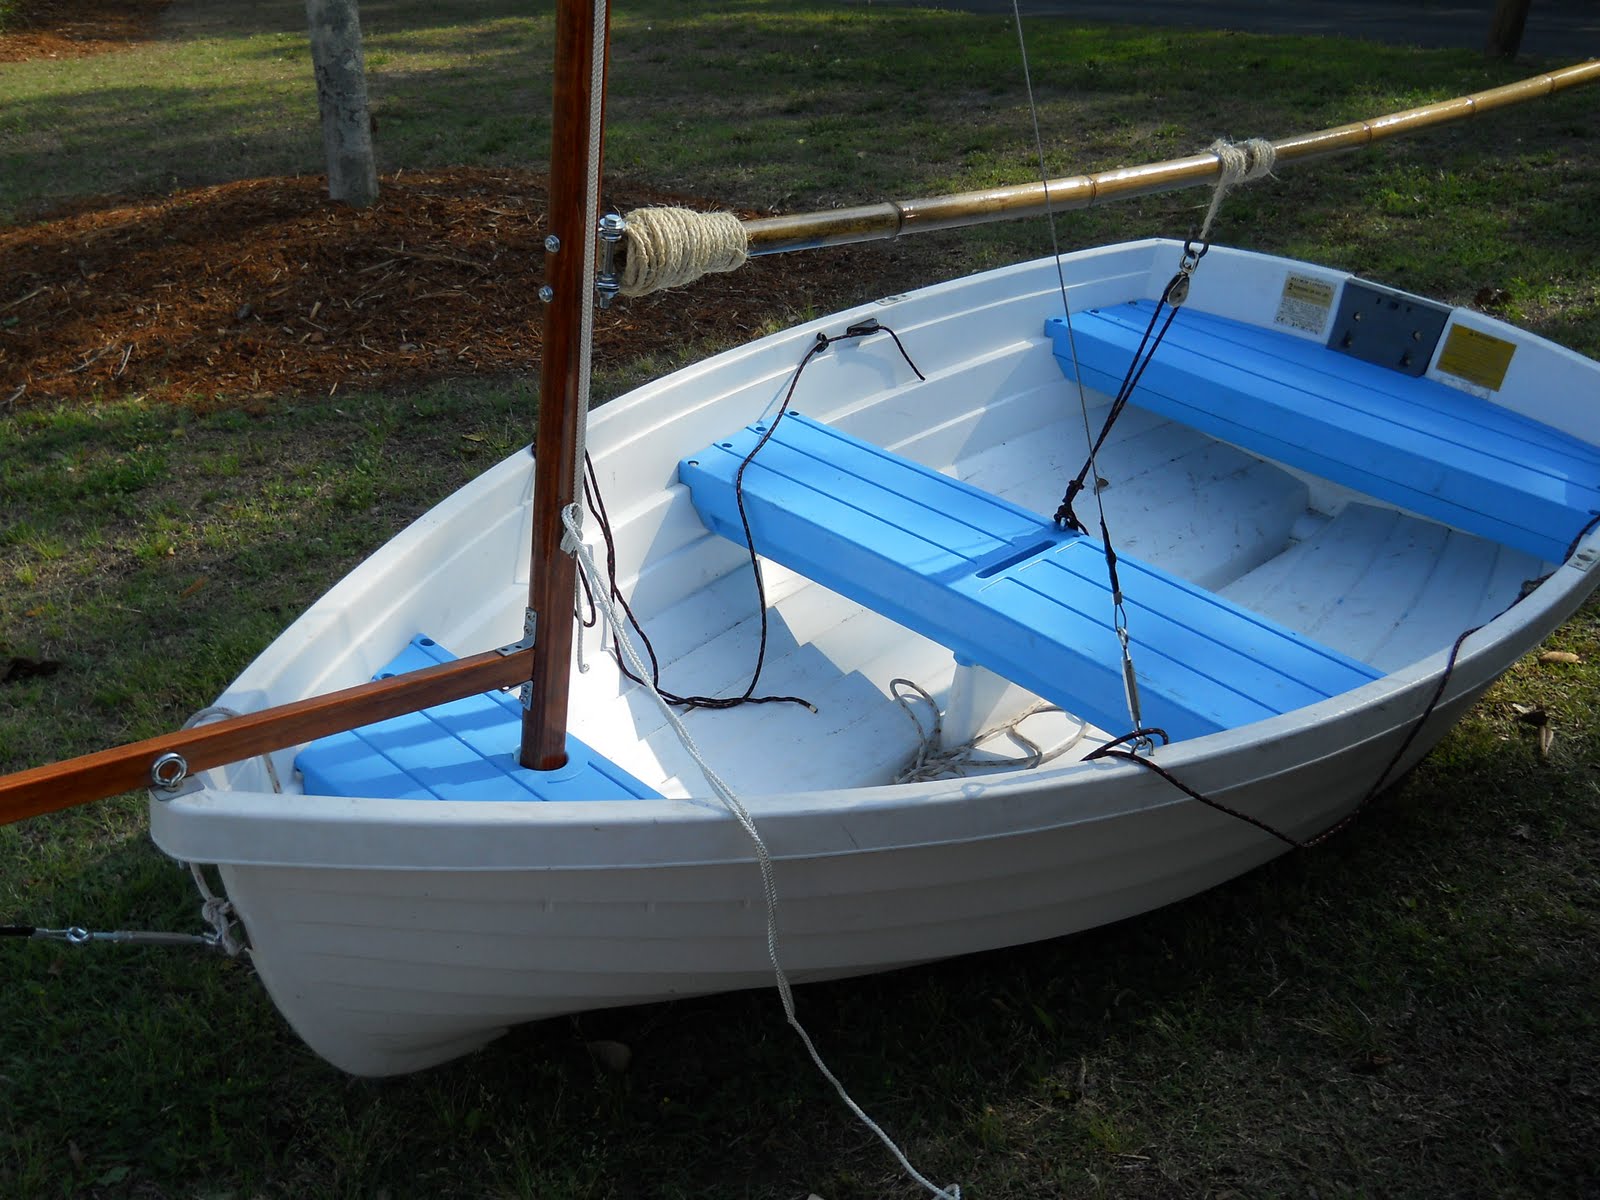
Rigging and Boom


I wanted a raw/simplistic/castaway feel a little bit.

Decided on a jib. Now what?


Because the mast is literally about 10" from the bow, we'll need a bowsprit.
-Stained Pine (Gunstock:Minwax) and 3 Coats of West System Epoxy.

Couldn't find a suitable bamboo stick for the mast. Had to settle for 12' pine handrail.
-Stained and given 4 coats of Spar Varnish

Friday, January 28, 2011

Next: Walker Bay 8 project sail rig

Built from bamboo. Mast and boom for a Walker Bay 8!
Tiller and Rudder build with Centerboard too.

Little Honu. Hawaiian for "green sea turtle."

First project of 2011!
Charleston, SC

Monday, January 17, 2011

Charleston Harbor and Sail w/dad


Finally! Some Interior Pictures.


Just taken on a rainy January day.

Thursday, May 27, 2010

Getting her on the trailer and sea trials


This was a task and quite nerve racking. Considering the countless hours I put into her, I was lucky nothing happened! I swear the three of us men looked and sounded like a bunch of goons trying to get her on the trailer smoothly. It was a blast though!


One last trip to lowes! Thats trip # 36

Painted my little work horse


You can see the primed area (grey) I primed this because it had almost no paint over the bare metal.
Painted the prop just for fun.


The Evinrude 4 - What a champion. Thanks to Huntley Marine for the tune up and carb rebuild.

Waxing was hard work. Also attached numbering.


3m marine wax is a phenomenal product. It smells tropical too.

Keel Mounting


This was a delicate procedure since the keel weighs in around 430 lbs.
Watch out toes!

Trailer restoration...glamor


Mr Gower came over to give me a lesson in 12v wiring!


Added a pin strip for a finishing touch!


I matched the trailer to the bottom paint to show some real class.


Fenders were a critical element for the trailer.

Sunday, May 9, 2010

Nuff said...


Fire extinguisher and first aid kit mounting.


Croakie holder...nice touch.


The tiller and engine mount are on. Glad I choose to paint them black. It is a good contrast with the blue. Nice flag too.


Removing the painters tape. A 2" white stripe will fill in this gap.


Reflection.

Sunday, May 2, 2010

Second coat primer, mast raising, help from friends!


The mast is taller than the roof line on our 2 story house!

Bob, I worked out the boom holder thing you were telling me about.

This is a good shot of the interlux primer after a second aplication. The primer went on great and should be a great base for the Flag Blue!


Here we were doing a little rundown and assessment of the rigging etc.

Saturday, May 1, 2010

Great Saturday. Primer, Cleat attachment, and Mast clean


Here is the slew of marine paint products that will be used to make this baby sparkle!


The mast had a huge bees nest in it! No longer. It actually cleaned up a little bit with the cleaner I used.


That Interlux grey primer is great. It has microspheres in it that help fill imperfections in the underlying layer.

Brushing the surface with interlux 333 helped the primer adhere and go on smooth.


Sunday, April 25, 2010

Saturday. Rail installation. Windows in. Hatch slider installation.


MADE IT ALL 8 SECONDS!


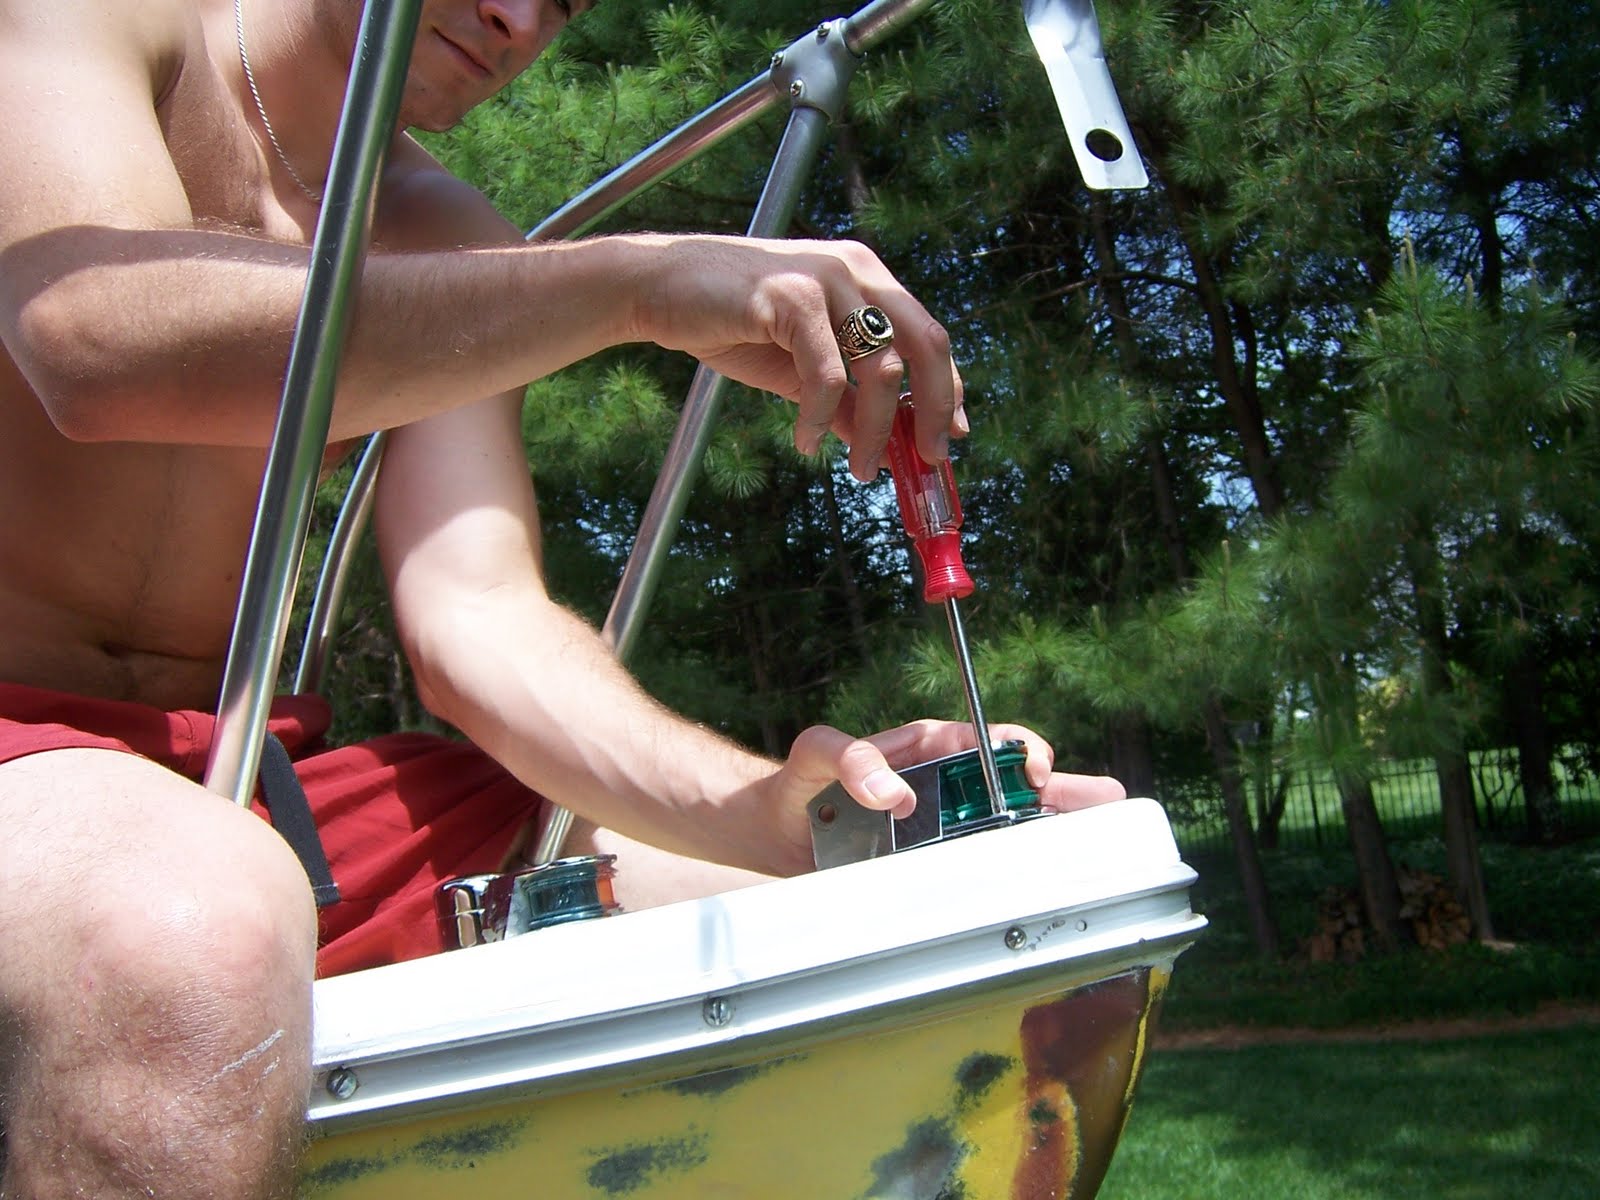
We got the new bow light put in too. Bold and zesty.


We saw rail was on its was and wanted to be able to close up the boat. This meant windows, and hatch.
After some coaxing and prying, the windows were back in with a phenomenal 4200 sealing job if I do say so myself.


Hands and feet required.


Re-installing the aftermarket lifeline and rail was a task. Each rail mount was backed with epoxied wood under the deck for added support. This took me crunched up in every crevasse of the boat to make this happen. Each rail piece was sealed with 3M 4200. That stuff is so tacky (sticky) it is unreal.

Friday. Sand Blister Repair. Waxed deck...mmm


After a layer of epoxy, a layer of epoxy with filler, and a light sanding, the final layer of epoxy was applied, then sanded when dry. The smoothness this gave the hull in unbelievable. There are no more blisters! WOW!


Waxing the deck improved the feel to that high gloss, easy clean, well protected smooth coating we all know and love! 3M makes some great marine wax. (Black Bottle)
After the allpication, hour wait to dry, and buffing, the boat looks and feels great.

Monday, April 19, 2010

Monday. Hull repair sanding!


Today when I got back from the law firm I got on the sanding of the repairs.


Absolutely beautiful.

Also I burnt out my 5th sander. Nice, thanks China.

Sunday. Hull blister repair.

A project that was hanging over my head and worrying me a little bit was the hull blister repair.


Step 1. Sand/Grind all blister caps off.
2. Wipe with clean cloth to remove dust.
3. Prime with coat of West 105 epoxy for a base
4. While the epoxy is still tacky apply more 105 with 407 low density filler. To get a sag-free consistency it takes quite a bit of the 407. The plastic applicators work great and conform to the hull. Apply liberally.
5 Let dry for at least 24 hrs before sanding
6 Apply another barrier coat of epoxy.